
If your auto clicker is not working on Windows 11 or Windows 10, the cause is usually a recorded coordinate, timing, permission, display-layout, or target-application issue. This guide starts with a safe one-minute test, then works through the fixes in the order that solves most problems fastest.
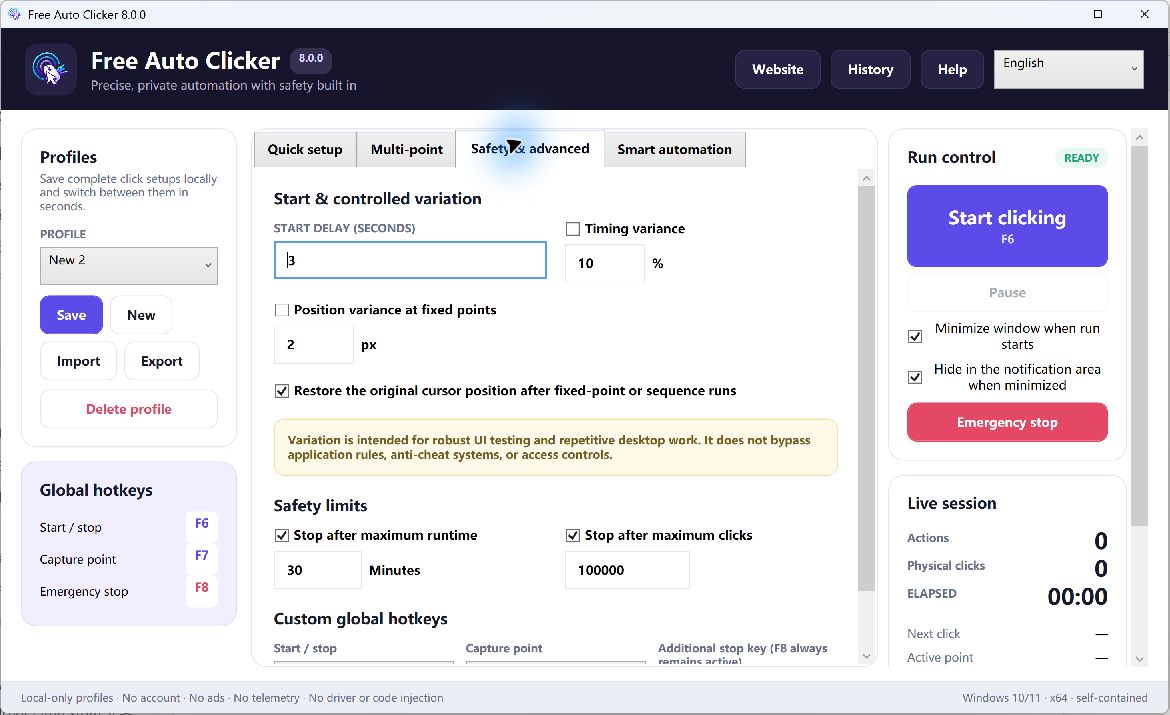
This guide applies to Free Auto Clicker 8.0.0, a 64-bit Windows utility. Before troubleshooting, close any task that could submit a form, buy an item, delete data, or affect another account. Test with a harmless window and a slow interval first.
Table of Contents
Quick test: find out whether the clicker or the target is the problem
- Open Free Auto Clicker and remove any old click points you do not need.
- Open a harmless desktop window that has a button or tab whose response is easy to see.
- Use the coordinate picker to capture one point in the middle of that control.
- Select the correct left or right mouse button.
- Set a slow interval, such as one click per second, and a small click limit.
- Start the task and watch the mouse position and target response.
If this simple test works, Free Auto Clicker is running and the original target, coordinates, permissions, or timing need attention. If the test does not work anywhere, continue through all ten fixes.
Symptoms and the most likely cause
| Symptom | Likely cause | First action |
|---|---|---|
| The pointer moves, but the target does not respond | Wrong mouse button, interval too fast, permission mismatch, or target blocks automated input | Use a slow interval and test another harmless program |
| Clicks land beside the intended control | The window moved, scaling changed, or monitor layout changed | Put the window in its final position and record the point again |
| Nothing happens when a hotkey is pressed | Another app captured the key or the wrong window has focus | Close shortcut managers and repeat the one-point test |
| The first point works but later points fail | The multi-point order is wrong or the interface changes before the next click | Review the X-Y list and increase the interval |
| It worked before sleep or Remote Desktop | The desktop coordinate system or active session changed | Return to the final desktop layout and record new points |
1. Record a fresh click point
Free Auto Clicker uses fixed screen coordinates. A saved point does not follow a button when the window moves. Clear the outdated point, place the target window exactly where it will remain, move the pointer to the center of the target, and use the coordinate picker to record it again. Confirm the new X and Y values in the list before starting.
For a detailed explanation, see how to get mouse click coordinates.
2. Keep the target window in a fixed position
Moving, maximizing, restoring, or resizing a window changes the screen location of its controls. Responsive web pages can also move a button when the browser width changes. Arrange the window first, wait for the page or program to finish loading, then record every point. Do not scroll or resize the interface after recording unless the workflow expects that change.
3. Check display scaling and multiple monitors
Windows display scaling, resolution, monitor order, and the choice of primary display can change how screen coordinates map to a control. This is especially noticeable after connecting a laptop to another monitor or moving a window between displays with different scaling settings. Use the monitor configuration that will remain active and record the points again. If possible, keep the target on one monitor for the entire task.
4. Select the correct left or right mouse button
A right-click task will not work as intended when left click is selected, and the reverse is also true. Confirm the selected mouse button before testing. A right click normally opens a context menu, so allow enough time for that menu to appear before the next point runs. Follow the right-click auto clicker guide for the exact setup.
5. Slow down the click interval
An interval that is technically possible is not always useful. The target may need time to draw a menu, load a page, save a change, or enable the next control. Start at one click per second. If the sequence works, shorten the interval gradually until you find a reliable value. If only the later steps fail, increase the delay between actions instead of repeatedly restarting at maximum speed.
See how to set the click interval and stopping schedule.
6. Review the order of multiple click points
For a multi-point task, the list order matters. One incorrect point can open the wrong menu and make every later coordinate appear broken. Test a short list first, then add one point at a time. Use Delete to remove a selected point if needed. When the sequence is stable, save the list as an FAC file so you can load the same tested setup later.
The multi-point auto clicker guide explains recording, ordering, saving, and loading click lists.
7. Match the permission level of the target program
Windows can restrict input sent from a normal desktop process to a program running with elevated administrator rights. If Free Auto Clicker works in ordinary windows but not in one elevated program, close both programs. Then test with both running at the same permission level. Only run software as administrator when the task genuinely requires it, and confirm the Windows prompt before continuing.
8. Check for hotkey conflicts
Free Auto Clicker uses F6 to start and F7 to stop normally by default, while F8 remains available as the emergency stop. The normal start and stop shortcuts can be customized. A game, remote-control program, keyboard utility, accessibility tool, or other background application can reserve the same key first. Close unnecessary utilities and test the hotkeys in a normal desktop window. If you customized a shortcut, confirm that the chosen key is not reserved by the target application.
Review all shortcuts in the Free Auto Clicker hotkeys guide.
9. Re-record after sleep, Remote Desktop, or a layout change
Locking the PC, changing Remote Desktop resolution, disconnecting a monitor, rotating a display, or waking from sleep can change the active desktop layout. Fixed X-Y points recorded before that change may no longer match. Stop the task before switching sessions. Once the final desktop is visible, verify the window position and record a new one-point test.
10. Reinstall the current official version
If Free Auto Clicker does not work in any harmless test, export any profiles you want to keep, uninstall the program through Windows Settings, restart Windows, and install the current official release again. Version 8.0.0 supports 64-bit Windows 11 and Windows 10. Download only from this website. The current installer is not Authenticode-signed, so Windows PowerShell should report NotSigned; the official website does not claim otherwise.
Use the uninstall guide first, then return to the official download page.
When the clicker works everywhere except one app or website
Some programs deliberately ignore automated input, change their interface dynamically, or prohibit automation in their terms. If the one-point test works in ordinary Windows software but fails only in one target, the target may not accept this type of click. Do not try to bypass security, anti-cheat, rate limits, consent dialogs, advertising rules, or service restrictions. Use automation only where you have permission.
Frequently asked questions
Why does the pointer move but not click?
First confirm the selected mouse button and use a slower interval. Then compare the permission level of the clicker and target program. If the behavior occurs in only one target, that program may ignore automated input.
Why are my recorded coordinates wrong?
The target window, display scaling, resolution, primary monitor, or remote session probably changed after the points were recorded. Restore the final layout and capture the coordinates again.
Should I always run an auto clicker as administrator?
No. Use normal permissions for ordinary tasks. Matching elevated permissions can help only when the target itself runs as administrator, and you should elevate software only when necessary.