Set Random Click Intervals on Windows
Set a base interval, add a percentage of timing variance, and test five clicks. For example, 1,000 ms with 20% variance gives planned waits of about 800–1,200 ms.
Download for WindowsWindows 10/11 · x64 · Free · v8.1.0
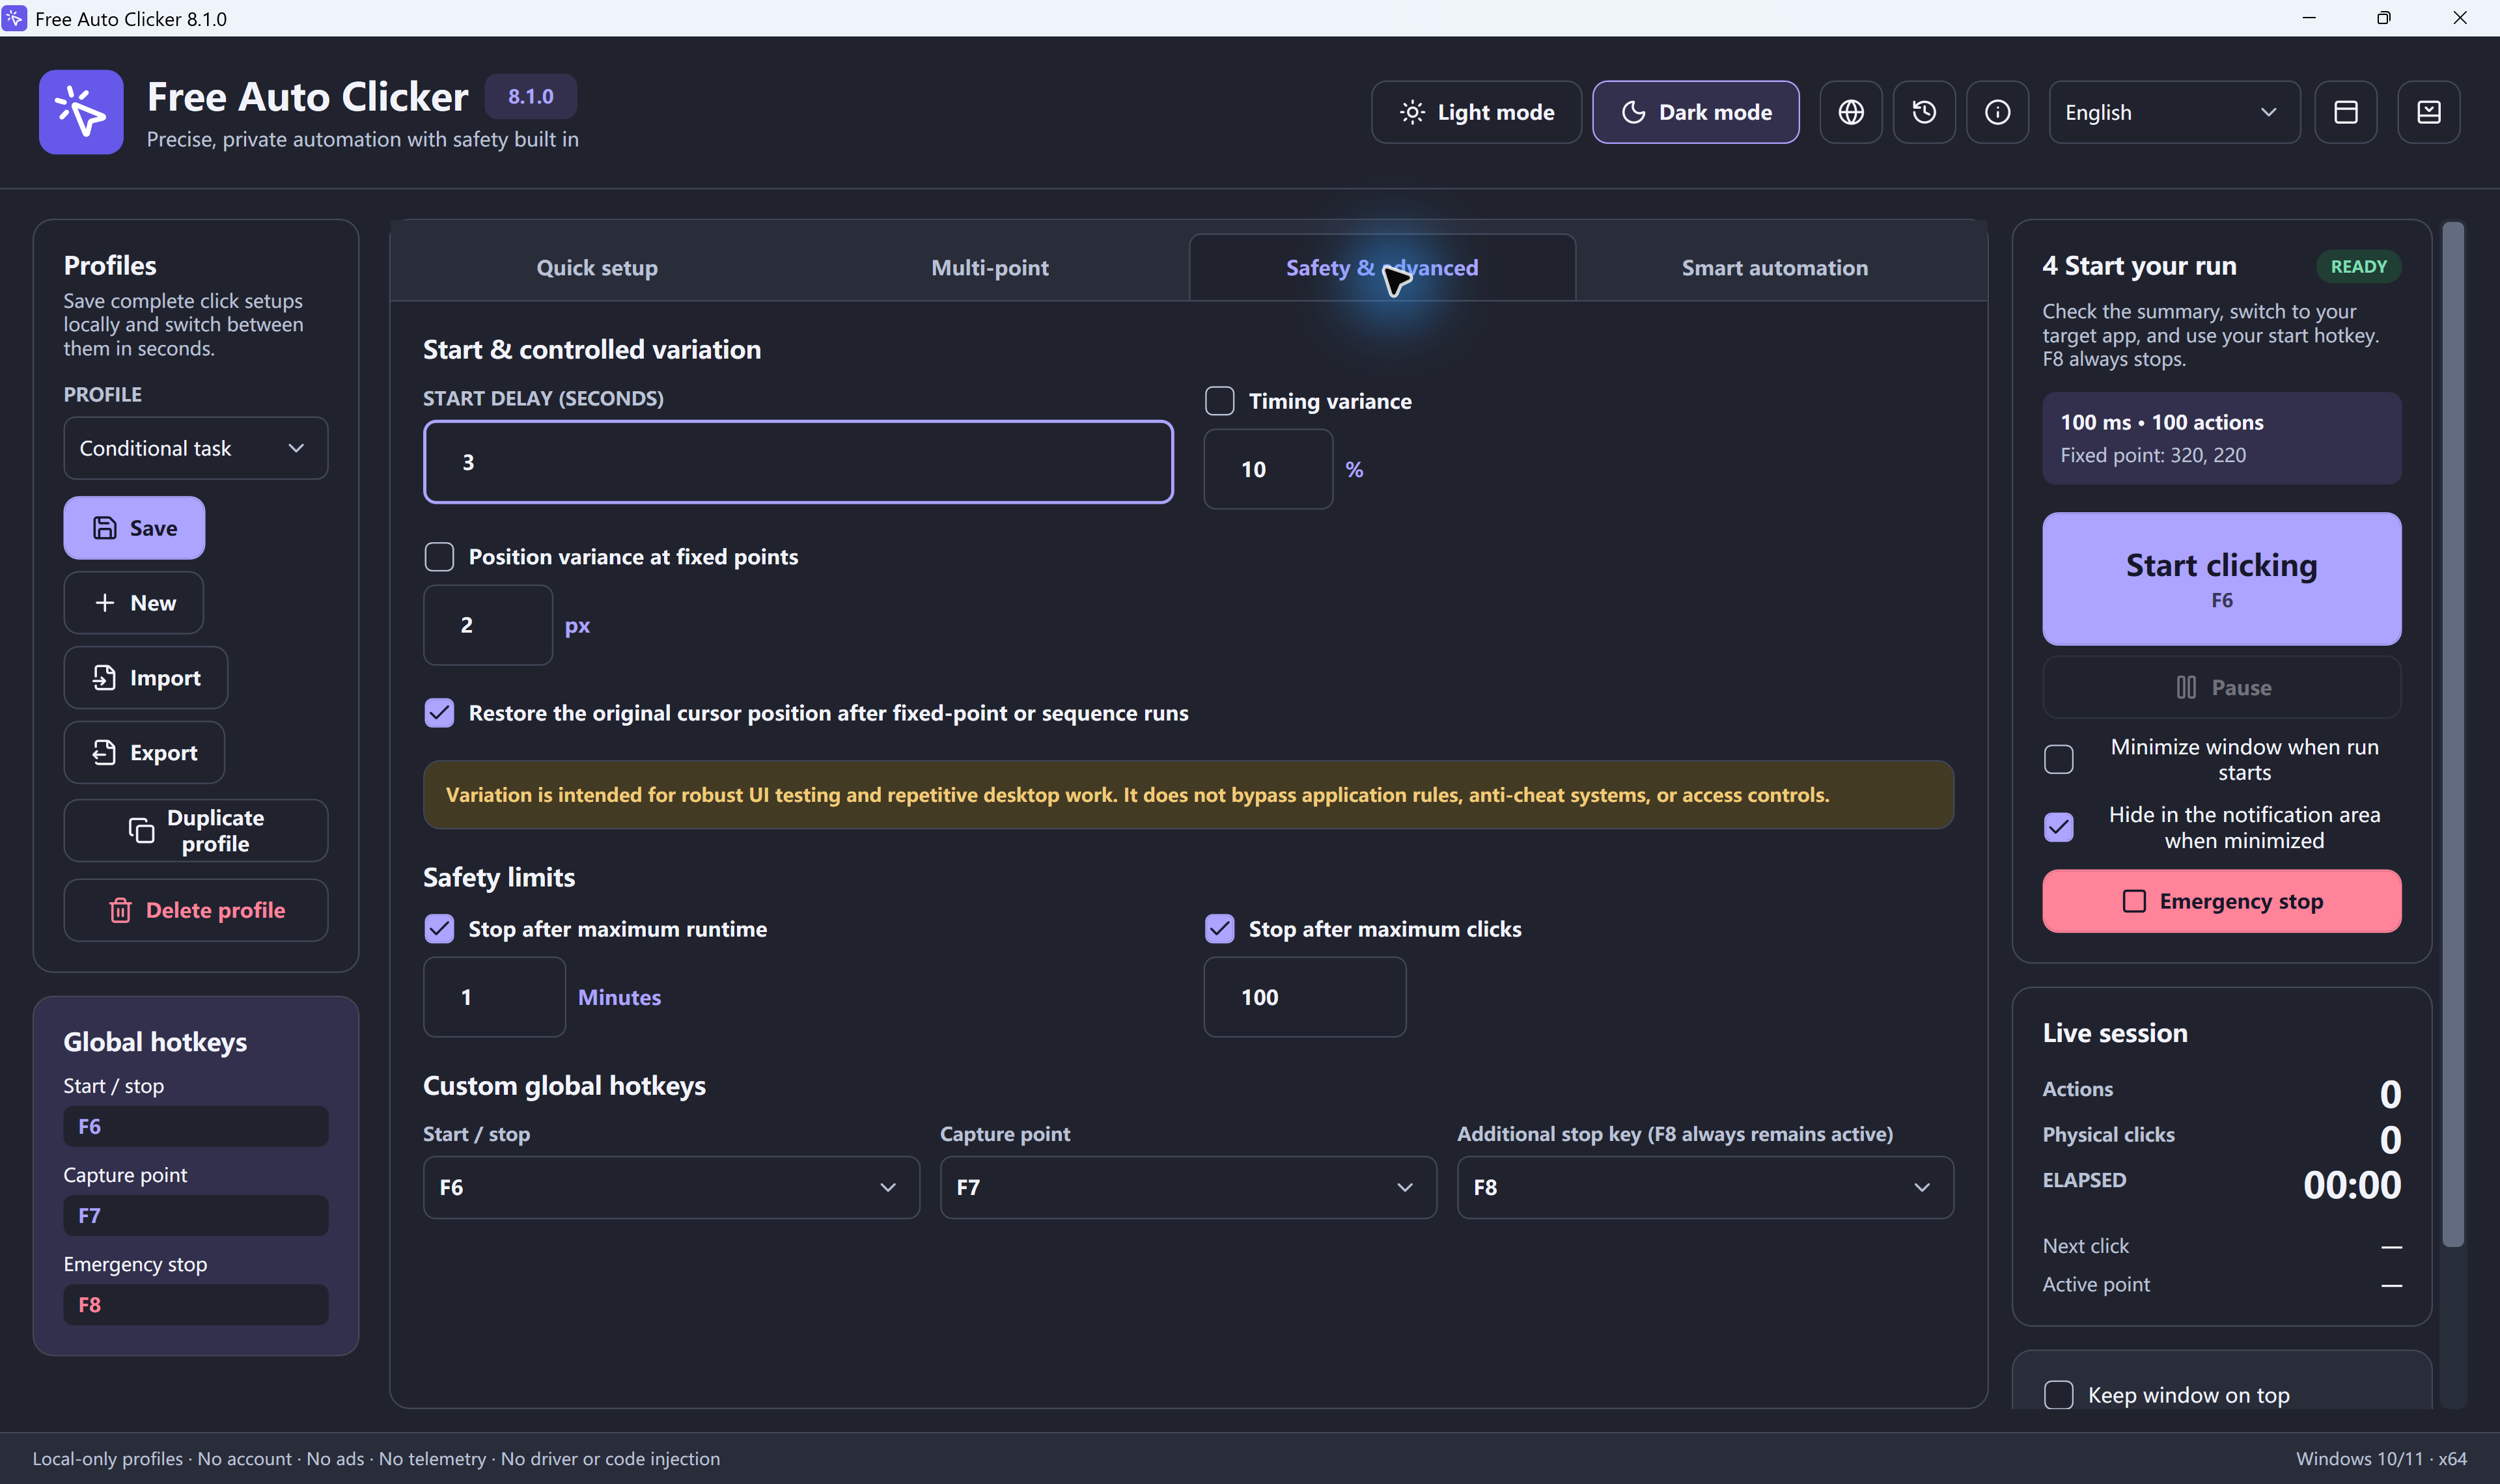
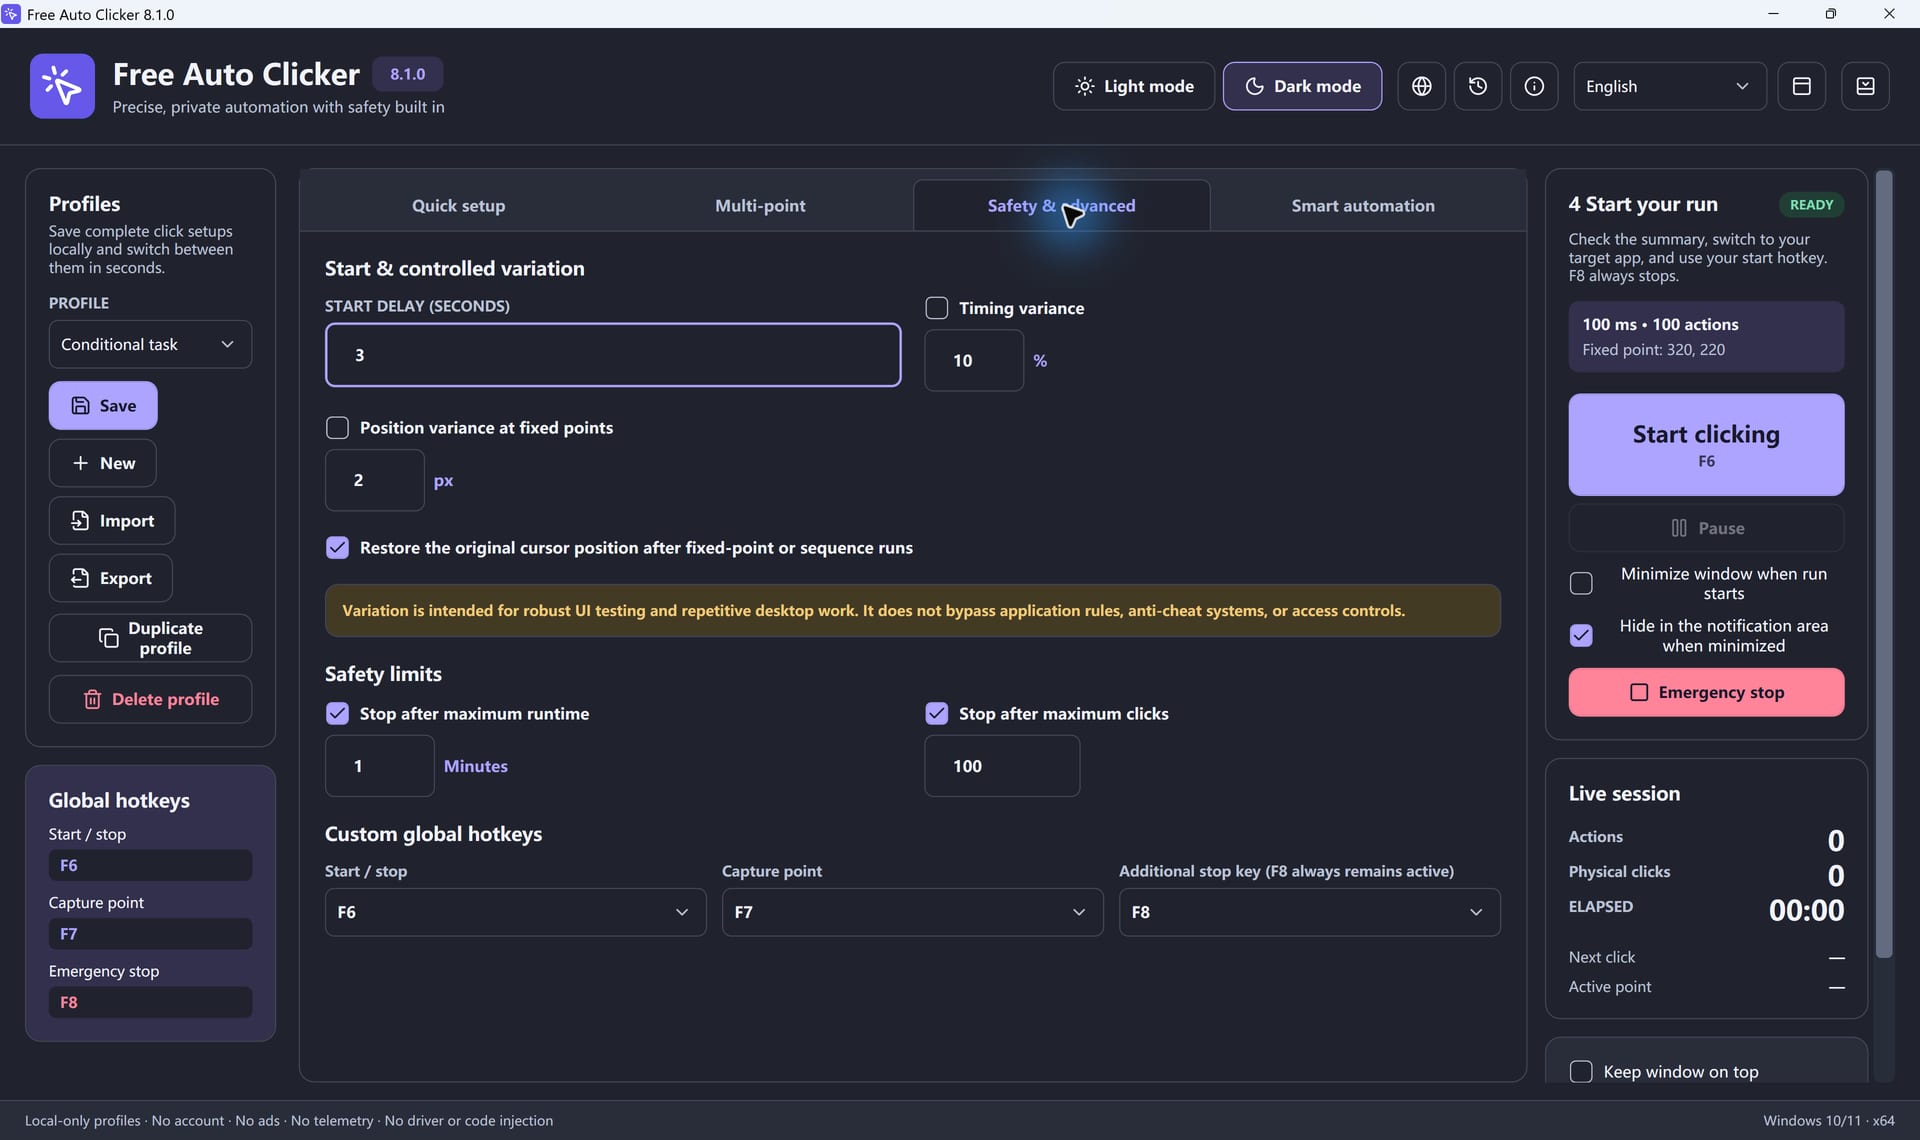
Quick answer: in Safety & advanced → Start & controlled variation, enable Timing variance and enter a percentage from 0 to 50. A 1,000 ms base with 20% gives nominal waits of 800–1,200 ms. Keep position variance off for the first test.
The percentage changes the wait after an action. It does not guarantee when another application will receive or finish processing the click.
First test: five clicks with 20% timing variance
Use the mouse-button test as a simple target. It counts mouse input on its own pad. The separate online auto-clicker demo animates its own A/B/C targets and cannot check input sent by the Windows application.
- Start from a new profile. Click the test pad once by hand and check that its Left counter responds; select Reset. Save any configuration you want to keep with Profiles → Save, then choose New.
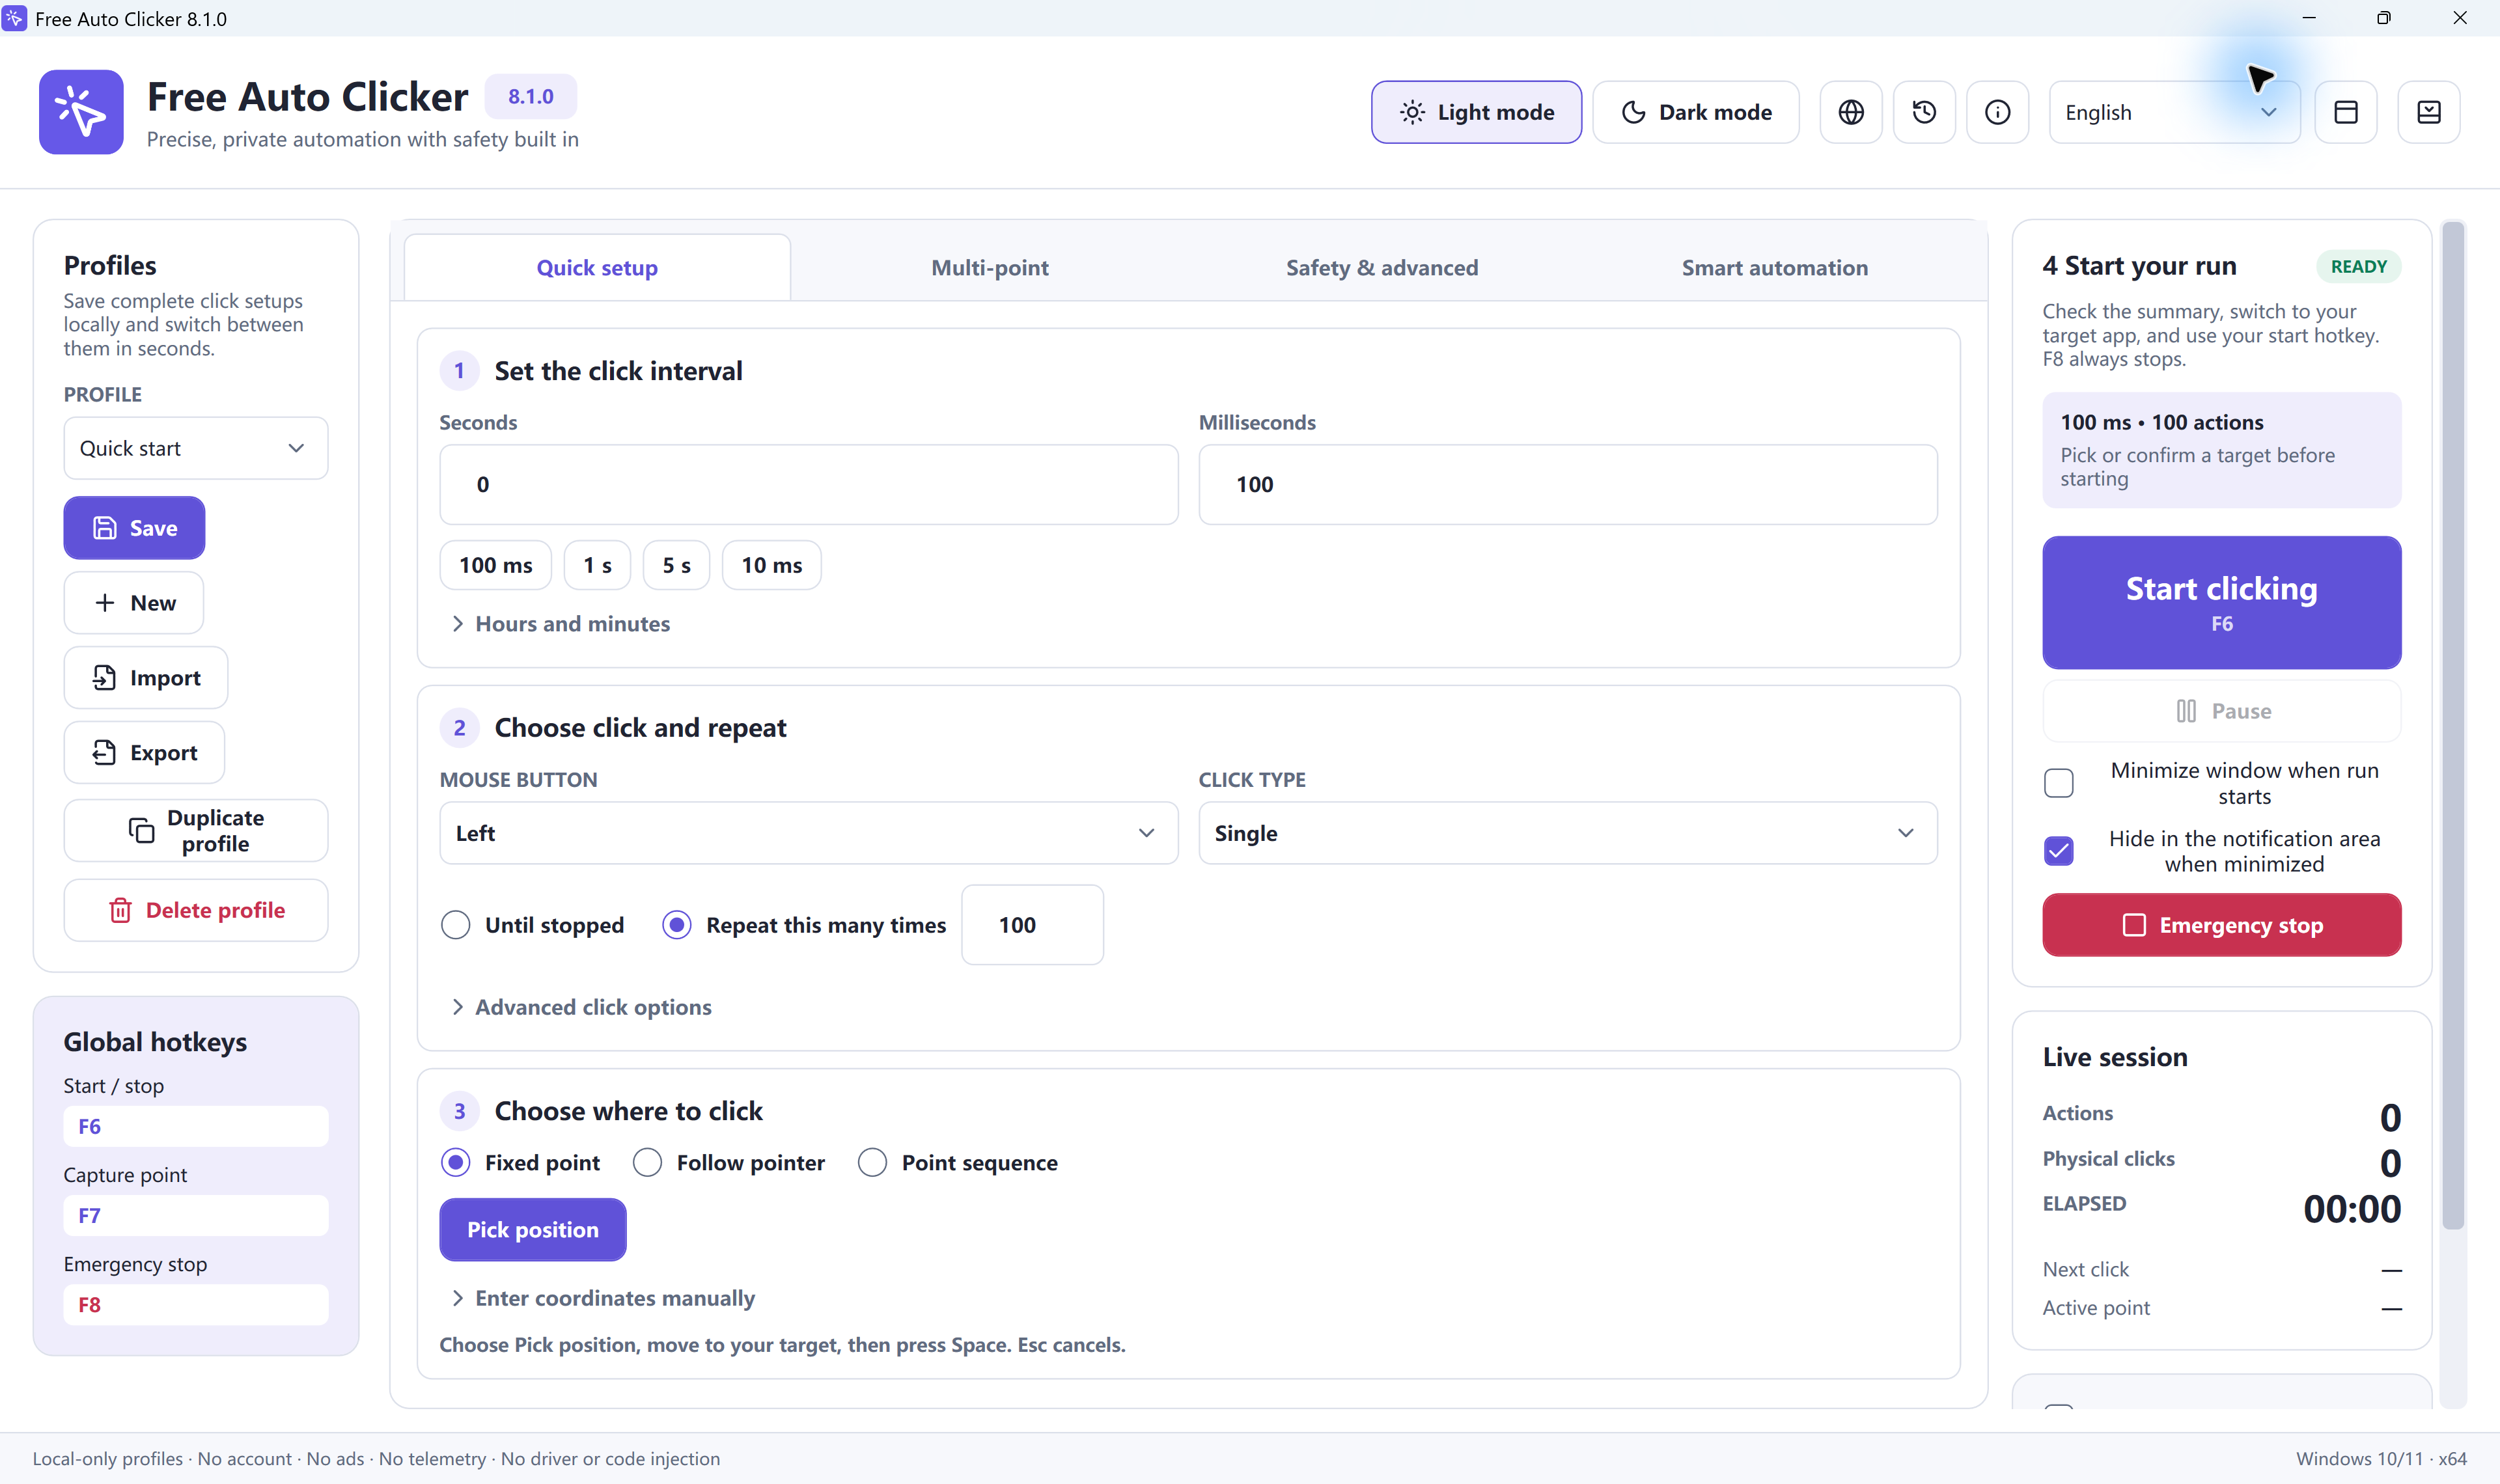
- Set a one-second baseline. In Quick setup, set Hours = 0, Minutes = 0, Seconds = 1 and Milliseconds = 0. Choose Mouse button = Left, Click type = Single and Repeat this many times = 5.
- Pick the target. Choose Fixed point → Pick position. Alternatively, the default F7 shortcut opens the coordinate picker. Move the pointer to the middle of the pad after the picker opens and press Space to confirm. Esc cancels.
- Set the limits before adding variation. Open Safety & advanced. Set Start delay (seconds) = 0, leave Timing variance and Position variance at fixed points unchecked, enable Stop after maximum clicks = 5, and set the enabled Stop after maximum runtime limit to 1 minute.
- Run the fixed baseline. Check the summary and current Start/stop shortcut. Return to the visible test pad without moving its window. Press the displayed shortcut, default F6, and leave the mouse alone. Expect the Left counter to reach 5 and the run to finish. Use F8 if a click lands elsewhere.
- Change only the timing. Reset the pad counter. In Safety & advanced, enable Timing variance and enter 20 in its percentage field. Keep the other settings, including the five-click limit and position variance off. Return to the pad and run again. Expect five clicks with varied waits, then a stop.
What this proves: a short run checks the target, count and stopping behavior. Five clicks are not enough to establish a timing distribution. For further checks, the auto-clicker speed test reports average gap and typical spread for input that lands on its pad. If a finite run ends before its test timer, examine those gap statistics rather than treating its whole-window CPS as a sustained speed.
Calculate the random interval range
For a base wait B and percentage P, the nominal bounds are B × (1 − P ÷ 100) and B × (1 + P ÷ 100). The program chooses a new value within that range after each action and applies a 5 ms minimum.
| Base interval | Timing variance | Nominal wait range |
|---|---|---|
| 1,000 ms | Off or 0% | 1,000 ms |
| 1,000 ms | 10% | 900–1,100 ms |
| 1,000 ms | 20% | 800–1,200 ms |
| 2,000 ms | 10% | 1,800–2,200 ms |
| 1,000 ms | 50% | 500–1,500 ms |
The field accepts whole-number percentages from 0% to 50%. It does not take a number of milliseconds. For example, a 200 ms spread around a 1,000 ms base is entered as 20%.
Configured wait is not exact arrival time. Windows scheduling, the mouse action, any post-action work and target readiness can add time. The 5 ms floor is a configuration limit, not an achieved-speed claim. With Start delay set to zero, the first action does not wait for a random interval; the varied waits occur between actions. A five-action run therefore has four intervening waits, not five.
For fixed timing, turn Timing variance off or use 0%. See the interval guide and CPS-to-interval calculator for the base interval.
For a sequence, vary each row’s Delay ms
In Point sequence, the base wait comes from the current row’s Delay ms, rather than the general Quick setup interval. The same Timing variance percentage applies to those row waits. A row set to 500 ms with 20% variance produces nominal waits of 400–600 ms; a 1,000 ms row produces 800–1,200 ms.
Check enabled rows, order and per-row Repeat. To test one whole sequence, first enable Repeat the entire sequence, then set Repeat this many times = 1. Keep a click limit large enough to allow that one intended pass. The multi-point guide walks through a three-point example.
Timing variance does not randomize the internal spacing of a double or triple click. It also does not replace Start delay, a pixel-condition wait, or a post-action delay. These controls solve different timing problems.
Position variance changes X and Y, not the interval
Position variance at fixed points is a separate checkbox with a whole-number value from 0 to 50 px. It works with Fixed point and Point sequence. It is unavailable in Follow pointer, which clicks wherever the real pointer is at that moment.
The value is an independent positive or negative offset on each axis. For a point at X = 100, Y = 200 and a spread of 2 px, X can be 98–102 and Y can be 198–202. That is a 5 × 5 grid of possible integer positions, forming a square around the center. It is not a circular two-pixel radius.
Keep the entire position spread inside the target
Start with position variance off. If your permitted UI test needs it, choose a large harmless control and a small spread whose entire square remains inside its clickable area. A border, nearby button, menu edge or scrolling content can make the saved center unsuitable. Change timing and position separately so you can tell which caused a failure.
Window-relative coordinates can follow the chosen window’s position, but they do not rediscover a button after scrolling or a layout change. Keep the target visible; window binding is not a hidden-window clicking mode.
Worked example: allow time for a refresh
Suppose a refresh control in your own test application is consistently ready again within 1,800 ms. A 2,000 ms base with 10% timing variance has a nominal lower bound of 1,800 ms and an upper bound of 2,200 ms. A 1,500 ms base would be too short for that measured requirement, even before adding variation.
Test the fixed 2,000 ms setup first, then change only Timing variance to 10%. Keep position variance off, use a visible foreground target and limit each test to five single clicks. Observe whether each refresh completes before the next one. If readiness is unpredictable, a guessed interval is not a reliable readiness check; configure and test an explicit ready-state condition separately.
Use Save for the local profile and Export for a separate .fac file. Record the tested base interval, percentage, target and expected result. Check the target and limits again when reusing the profile.
If the result differs from your plan
The shortest wait is too short
Calculate the lower bound, not only the average. A 1,000 ms base with 50% variation can request a 500 ms wait. Check that you entered a percentage, that Hours and Minutes are zero for the short test, and that the current sequence row has the intended Delay ms.
Clicks leave the target
Press F8, turn position variance off, and capture the point again. Recheck the window position, zoom and display scaling. Use a harmless test area for any position-spread experiment; do not experiment around controls that submit, send, purchase or delete.
The run stops early or continues too long
Read the status and check the finite repeat count, physical-click limit and maximum runtime. Runtime is entered in minutes, with a minimum of 1 minute. Double and triple clicks consume more than one physical click per action. If a target overlaps the floating control bar, move the bar before retrying.
Variation is not human behavior or guaranteed reproducibility
A short random run may contain similar waits by chance, and a later run need not use the same values. Use fixed intervals for an initial comparison. Varying timing does not make software-generated input human or undetectable.
For input that does not register, use the Windows troubleshooting guide. For stopping and scheduled starts, see schedules, limits and emergency hotkeys.
Keep the target visible and follow its rules
Free Auto Clicker sends normal Windows input to visible foreground targets. A bound window may be restored and brought to the front; the program does not inject clicks into a window while it remains minimized or hidden. Some applications do not accept automated input or do not permit it. Timing variation does not bypass their rules or access controls.
Frequently asked questions
Where do I turn on random click intervals?
In Safety & advanced, find Start & controlled variation. Enable Timing variance and enter a whole-number percentage from 0 to 50. Set the base interval in Quick setup. For a point sequence, the percentage applies to each active row’s Delay ms instead.
What does 20% timing variance mean?
It varies the planned wait by up to 20% below or above its base value. A 1,000 ms base gives about 800–1,200 ms. Start with a small percentage that keeps the shortest wait suitable for your test. The program never requests a varied wait below 5 ms; that minimum is not a promise of real-world speed.
Does timing variance change a sequence or a double click?
For a sequence, timing variance applies to each row’s Delay ms after its action. It does not randomize the internal spacing of the physical clicks in a double or triple click. Start delay, pixel-condition waits and post-action delays are separate settings.
Can I combine timing and position variance?
Yes, for Fixed point or Point sequence. Timing variance changes the wait; position variance adds an independent pixel offset to X and Y. Test timing alone first, then add a small position spread if the whole possible area stays inside the target. Position variance is unavailable in Follow pointer mode.
How do I keep a random-interval test short?
Use a finite repeat count and a maximum-click limit. If you enable the maximum-runtime limit, its field uses minutes and accepts at least 1 minute. F6 starts or stops with the default shortcut; F8 remains the emergency stop. A five-click test should finish after five single clicks even when its timing varies.
Does a random interval make an auto clicker undetectable?
No. Varying the timing does not hide automated input or change an application’s rules. Free Auto Clicker sends normal Windows input to a visible foreground target and does not bypass anti-cheat systems, rate limits or access controls.
Last reviewed: October 26, 2026 · Free Auto Clicker 8.1.0
Ready to automate the clicks on your PC?
Set a bounded clicking task for a permitted, visible foreground target in Windows.
Download for WindowsWindows 10/11 · x64 · Free · v8.1.0